Introduction to Installing a Video Doorbell
Installing a video doorbell is a great way to enhance your home security and convenience. These devices allow you to monitor who's at your door remotely, ensuring peace of mind whether you're at home or away. In this comprehensive guide, we'll walk you through each step of installing your video doorbell, ensuring that you can do it yourself without hassle.
Step 1: Preparing for Installation
Before you begin installing your video doorbell, gather all the necessary tools and materials. You'll typically need:
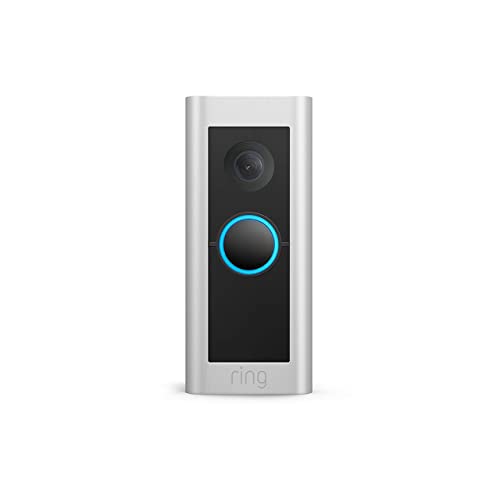
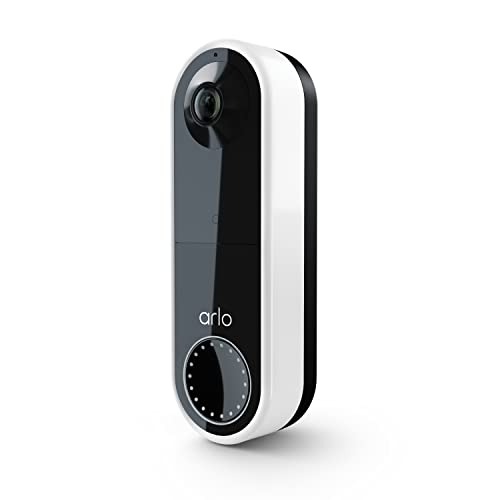
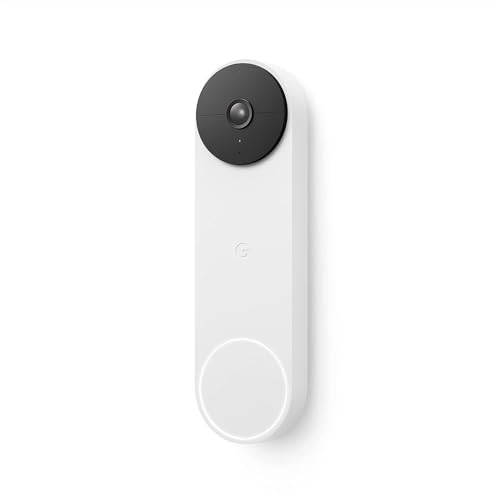
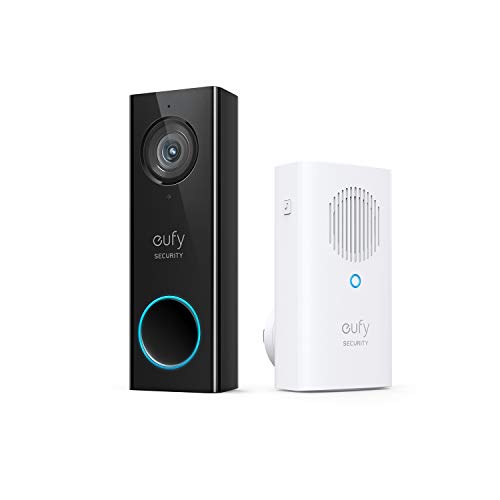
- Video doorbell unit (ensure it's compatible with your home's wiring and Wi-Fi network)
- Screwdriver set (flathead and Phillips)
- Drill and drill bits (if required for mounting)
- Voltage tester (to ensure power is off)
- Smartphone with the manufacturer's app installed
- Chime kit (if your doorbell is mechanical and requires one)
Step 2: Assessing Power and Compatibility
It's crucial to check your current doorbell setup and power supply. Most video doorbells require a stable Wi-Fi connection and either battery power or a wired connection to your existing doorbell system. Follow these steps:
-
Turn off power: Locate your circuit breaker and turn off the power supply to your existing doorbell.
-
Remove old doorbell: Unscrew and remove the old doorbell from the wall. Use a voltage tester to ensure that the wires are not live.
-
Assess wiring: Note the wiring configuration. You should have at least two wires (typically labeled as "front" and "trans").
-
Check compatibility: Refer to your video doorbell's manual to ensure compatibility with your wiring setup.
Step 3: Installing the Video Doorbell
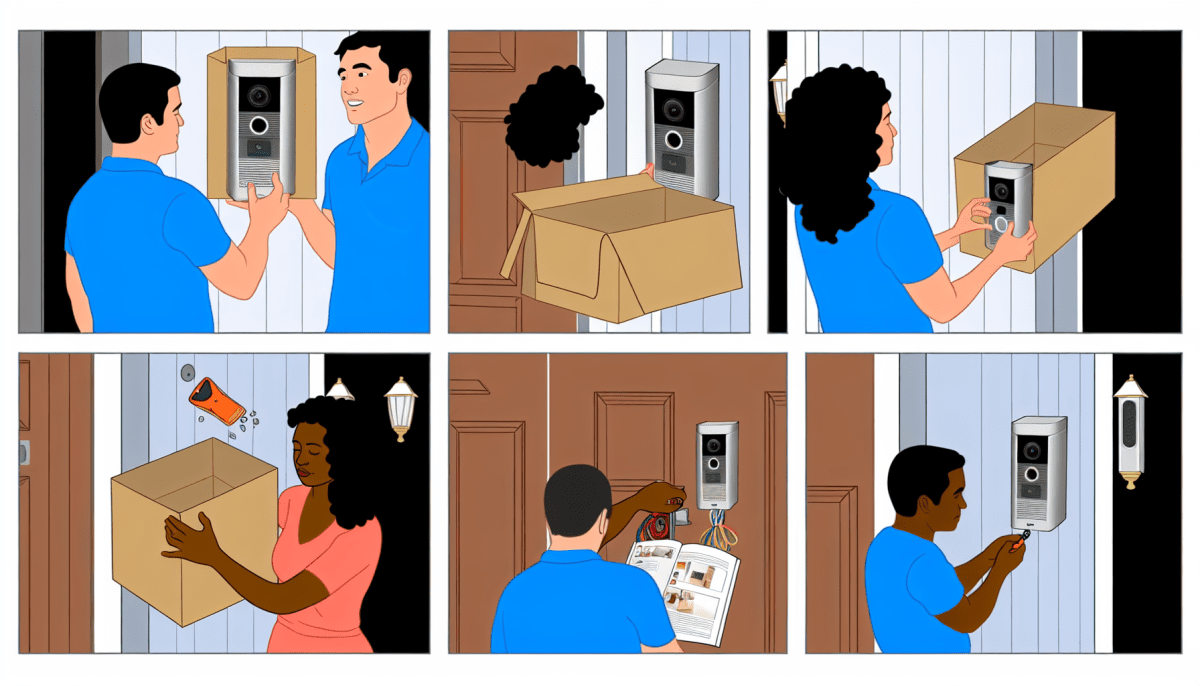
Now that you've prepared everything, it's time to install your video doorbell.
-
Mounting bracket: Attach the mounting bracket to the wall using screws and the appropriate tools. Ensure it's level to avoid issues later.
-
Connecting wires: If your video doorbell requires wiring, connect the wires to the terminals according to the manufacturer's instructions. Secure them tightly.
-
Installing the doorbell unit: Gently slide the video doorbell onto the mounting bracket. It should click into place securely.
-
Testing: Restore power at the circuit breaker. The doorbell should power on, and you may need to follow setup instructions on the manufacturer's app to connect it to your Wi-Fi network.
Step 4: Setting Up and Testing
Once installed, it's important to test your video doorbell to ensure proper functionality.
-
App setup: Download and open the manufacturer's app on your smartphone. Follow the prompts to connect your video doorbell to your home Wi-Fi network.
-
Adjust settings: Configure settings such as motion detection sensitivity and notification preferences within the app to tailor the doorbell's operation to your needs.
-
Testing audio and video: Use the app to test the doorbell's audio and video quality. Make adjustments if necessary to enhance clarity.
-
Chime integration: If your video doorbell supports it, integrate it with your existing chime or install a compatible chime kit to ensure you hear doorbell notifications throughout your home.
Step 5: Troubleshooting and Maintenance
After installation, monitor your video doorbell for any issues and perform regular maintenance to keep it in optimal condition.
-
Troubleshooting tips: Refer to the manufacturer's troubleshooting guide if you encounter any connectivity or functionality issues.
-
Maintenance: Periodically clean the camera lens and ensure the device is free from debris to maintain clear video quality.
Conclusion
By following this step-by-step guide, you can successfully install and set up your video doorbell to enhance your home security and convenience. Enjoy the peace of mind that comes with knowing who's at your door, whether you're at home or away.
