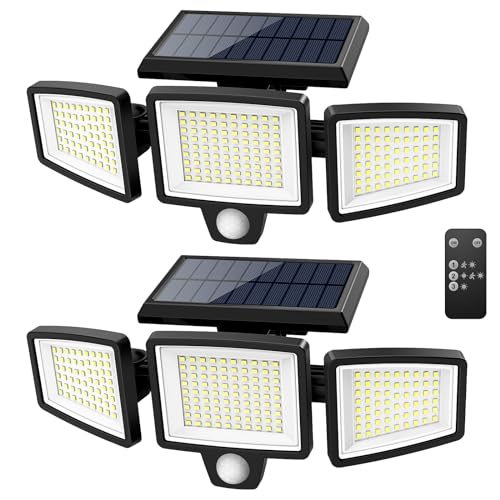
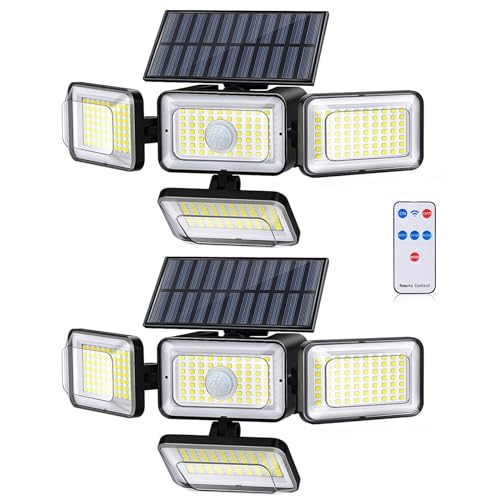
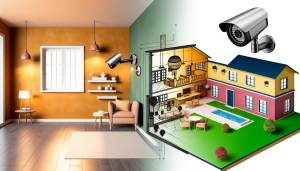
Before starting the process of installing your outdoor camera, it's important to gather all the necessary materials. Here's a list of items you'll need to complete the installation:
Make sure you have all these materials on hand before you begin the installation process. This will help ensure a smooth and efficient setup.
Remember, safety first! Be sure to have a sturdy ladder or step stool to reach high areas, and use proper safety equipment such as gloves and goggles when handling tools. Now that you have everything you need, you're ready to start installing your outdoor camera.
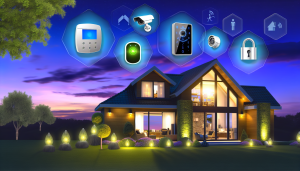
Choose Ideal Location
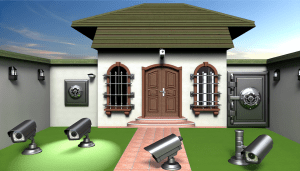
When you're considering installing an outdoor security camera, choosing the ideal location is key to ensuring you capture the best footage possible. Here are a few tips to help you find the perfect spot:
First and foremost, think about what areas of your property you want to monitor. Are you looking to keep an eye on your front door? Or perhaps you want to watch over your backyard where the kids play. Make a list of the key areas you want to cover before deciding on the location for your camera.
Next, consider the angle of your camera. You'll want to make sure it's positioned in a way that allows for optimal coverage of the area you're monitoring. Avoid placing your camera too high up or too low, as this can result in missed footage or distorted images.
Lastly, think about accessibility and power sources. Choose a location that is easily accessible for maintenance and adjustments. Additionally, make sure there is a power outlet nearby or consider investing in a camera with a rechargeable battery for added convenience.
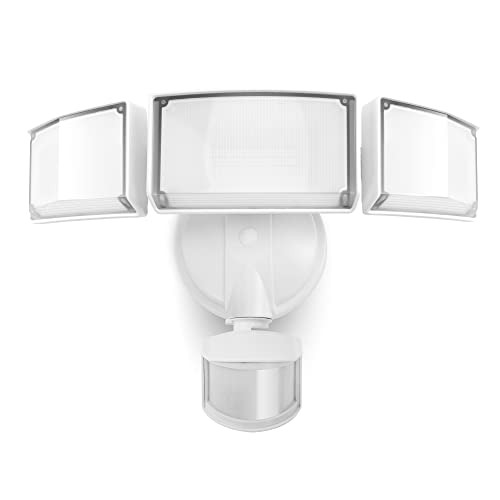
Install Camera Bracket
Now that you've chosen the perfect spot for your outdoor camera, it's time to install the camera bracket. Follow these simple steps to securely mount your camera:
1. Using a pencil, mark the spots on the wall or ceiling where you want to install the camera bracket. Make sure the bracket is positioned at the desired angle for optimal surveillance.
2. Use a drill to create pilot holes at the marked spots. Be sure to use the appropriate drill bit size based on the mounting hardware provided with your camera bracket.
3. Securely attach the camera bracket to the wall or ceiling using the screws provided. Make sure the bracket is level and firmly in place before attaching the camera.
4. Once the bracket is securely installed, follow the manufacturer's instructions to attach the camera to the bracket. Double-check that the camera is positioned correctly and has a clear view of the area you want to monitor.
Connect Camera to Wi-Fi
Once you have completed the physical installation of your outdoor camera, the next step is to connect it to your Wi-Fi network for remote access. Follow these simple steps to get your camera up and running:
Step 1: Power on your camera and wait for it to boot up. Most outdoor cameras will have a light indicator that shows when it is ready to set up.
Step 2: Open the camera's companion app on your smartphone or tablet. This app will guide you through the setup process, including connecting your camera to Wi-Fi.
Step 3: In the app, navigate to the settings menu and look for the option to connect to Wi-Fi. Follow the prompts to select your Wi-Fi network and enter the password.
Step 4: Once you have entered the correct Wi-Fi credentials, the app will begin the process of connecting your camera to the network. This may take a few moments, so be patient.